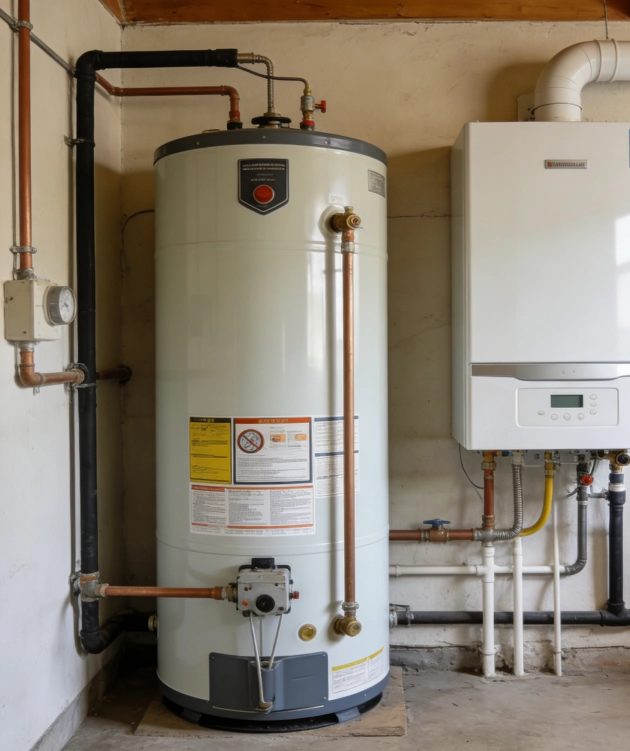
Buffer tanks play a critical role in modern hydronic heating and cooling systems. They are designed to stabilize water temperature, separate flow circuits, and prevent short cycling of heat sources such as boilers and heat pumps. When properly selected and installed, a buffer tank improves system efficiency, protects equipment, and enhances comfort. However, when design or installation mistakes occur, performance can be compromised. Understanding the most common issues and how to troubleshoot them is essential for long-term system reliability.
In variable-load systems, heat sources often operate more efficiently when they run in longer, steadier cycles. A buffer tank provides thermal mass that absorbs excess heat when demand is low and releases it when demand increases. This reduces frequent on/off cycling, which can otherwise lead to premature wear of compressors, burners, and pumps. The tank also acts as a hydraulic separator, allowing different flow rates in the heat source loop and the distribution loop without interference.
Despite these benefits, a buffer tank is only effective when it is correctly sized, insulated, piped, and maintained. Most performance problems can be traced back to weaknesses in one of these areas.
One of the most common issues is improper sizing. An undersized buffer tank cannot store enough thermal energy to stabilize system operation. As a result, the heat source may still short cycle, starting and stopping frequently even with a tank in place. This leads to reduced efficiency and increased mechanical stress.
On the other hand, an oversized tank introduces its own problems. Excessive volume increases heat loss, slows system response time, and raises installation costs without delivering proportional benefits. Proper sizing requires accurate calculations based on heat source output, minimum run time, system load variation, and flow rates. A tank should be large enough to meet the system’s thermal buffering needs—but no larger than necessary.
Another frequent issue is inadequate insulation. Even when a tank is correctly sized, poor insulation can cause significant standby heat loss. This means energy is continuously leaking into the surrounding space instead of being delivered where it is needed.
In technical rooms or unconditioned spaces, this loss can be substantial. High-quality factory-applied insulation or properly installed external insulation jackets are essential. Gaps, compression, or exposed surfaces reduce the effectiveness of insulation and undermine overall system efficiency.
Air trapped in the buffer tank or connected piping can severely reduce performance. Air pockets restrict flow, cause noise, and lead to uneven heat distribution. In some cases, air can prevent full use of the tank’s volume, effectively reducing its thermal capacity.
Air enters systems during initial filling, maintenance, or through micro-leaks. Proper venting strategies, including automatic air vents and air separators, are necessary to remove trapped air. Regular bleeding procedures should be part of routine service.
The way a buffer tank is connected to the system has a direct impact on how well it performs. Incorrect piping layouts can disrupt flow separation and reduce the tank’s ability to decouple the heat source from the distribution system.
For example, poorly placed connections may allow short-circuiting between supply and return lines, which reduces temperature stratification inside the tank. This limits usable thermal storage and weakens system control. Correct piping ensures that hot and cold layers remain distinct and that each loop operates independently at its intended flow rate.
| Issue | Root Cause | Performance Impact | Troubleshooting Approach |
| Improper sizing | Inaccurate load/run-time analysis | Short cycling or slow system response | Recalculate volume and resize if necessary |
| Poor insulation | Low-quality or damaged insulation | High standby heat loss, reduced efficiency | Upgrade insulation and seal exposed areas |
| Air accumulation | Inadequate venting or filling | Noise, reduced flow, uneven heating | Install air vents and perform bleeding procedures |
| Incorrect piping layout | Poor connection design | Flow interference, low thermal separation | Reconfigure piping for proper hydraulic decoupling |
Troubleshooting does not end with correcting initial problems. Preventive maintenance is essential for keeping buffer tanks operating at peak performance. Inspections should include checking insulation condition, vent operation, and connection integrity. Monitoring temperature differentials and system cycling behavior can reveal early signs of trouble.
Over time, small issues—such as gradual air buildup or insulation degradation—can quietly erode efficiency. Addressing these early prevents larger failures and preserves the benefits the buffer tank is meant to provide.
Buffer tanks are powerful tools for improving thermal system performance, but they are not “install and forget” components. Their effectiveness depends on proper sizing, insulation, venting, and piping configuration. When issues arise, they usually stem from weaknesses in one of these areas rather than from the tank itself.
With careful design, correct installation, and regular maintenance, a buffer tank contributes significantly to energy efficiency, equipment longevity, and indoor comfort. Understanding common problems and how to troubleshoot them ensures that the system delivers stable, reliable performance over its entire service life.

